I bought our dining room tables ages ago on eBay from a furniture maker. I don’t remember the seller but I do remember receiving wood samples in the mail and selecting the stain color that I wanted.
I have loved this table for many years but recently something has been bothering me. It’s a small thing, really, but you know how it goes…the more you think about something, the more you notice it, and the next thing you know, you are whipping out your orbital sander and refinishing the top. Oh wait? That’s not how you do things? I probably shouldn’t do things that way either but I did. And here’s what happened…
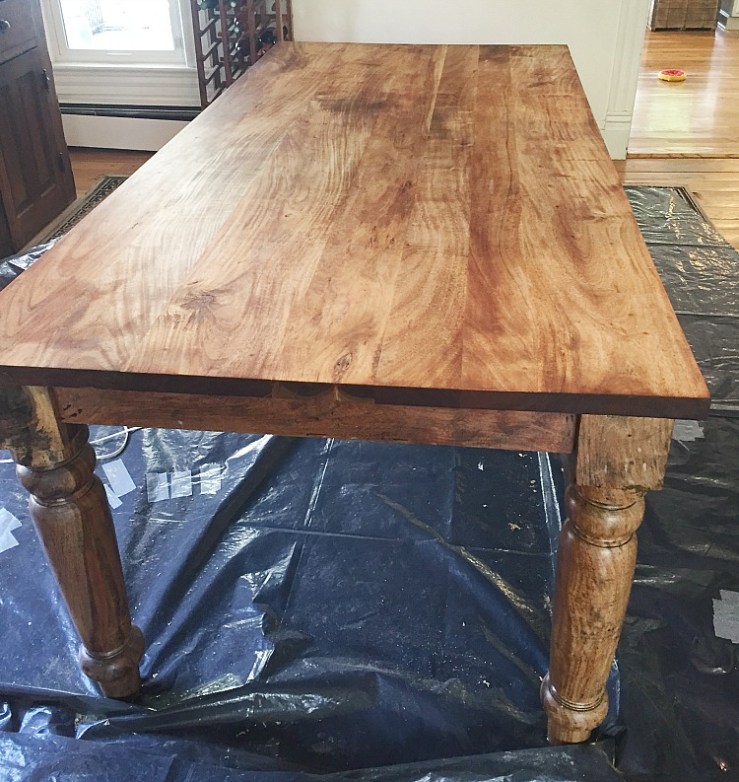
This is the before..
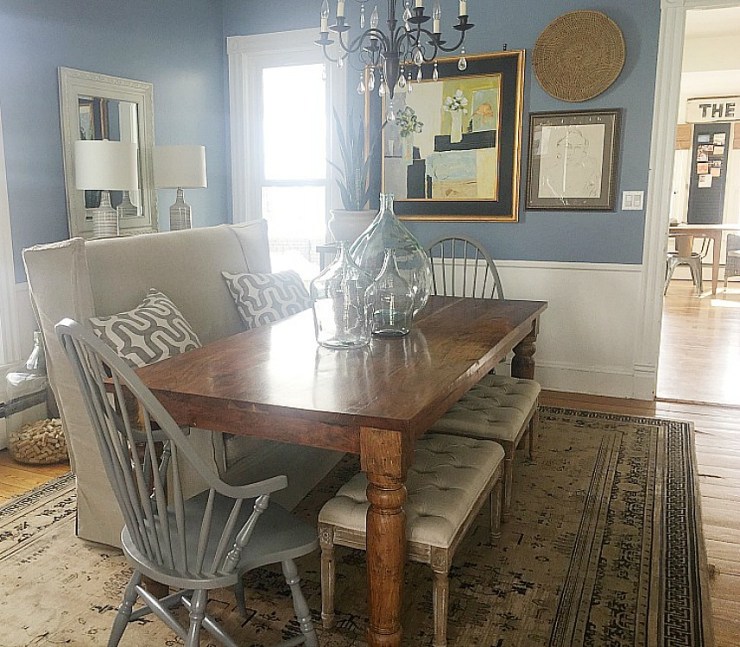
I know in this picture it’s not obvious (or really even noticeable) but in person, the top reads more red than brown like the table legs. And the more I saw the difference between the top and the legs, the more I realized I could do something about it to make our table look more like this..

Big farmhouse table? Check. Fat, chunky legs? Check. (I’m LOL-ing about that one. Not sure I’d count fat, chunky legs as an asset on anything but a table!). Distressed top? NO!! My table’s top had a weird red hue and was shiny. It also did not have enough distressing for my “the older, the better” lovin’ self so one Saturday morning I decided it was time to fix it. Yep. It was time to distress a perfectly good top.
Even I realized how ridiculous this all sounded so I tried to be stealth. I knew I would have to refinish the table in place because it is just too big and bulky to move outside but as I tried repeatedly to place a tarp underneath it on my own, I was caught by my husband, innocently asking, “What are you doing?” as my butt’s in the air, sweating underneath the table — I knew I couldn’t lie.
Fortunately, he’s color-blind (and loves me!) so I told him that the top was reeeaally red and didn’t match the legs and I was going to make it all better and remember how you bought me that orbital sander one Christmas and how I refinished our kitchen table and how nice that turned out and how much you love me?? Did I already mention that?
After I could breathe again and the tarp was in place (thanks John!), I began sanding. And sanding. And sanding. Man, that smooth, shiny finish was TOUGH. That explains why the table top looked so good after years of use. Damn. I quickly realized that this job required more than my sander, that I might have to use a STRIPPER and I immediately felt out of my league.
Side note: I remembered a line I wrote on my Flea Market Flip application that I thought was so funny at the time: “I can sand but not strip!” LOL!! Now that was all about to change.
I decided to use this stripper after reading reviews and watching some YouTube videos.

You can buy it at any hardware store and even Walmart. I felt pretty confident at this point that I could do this, that I could make this work.
I followed the product directions and waited to see my distressed, dream table underneath the layers of poly and stain.
It looked like this to start..
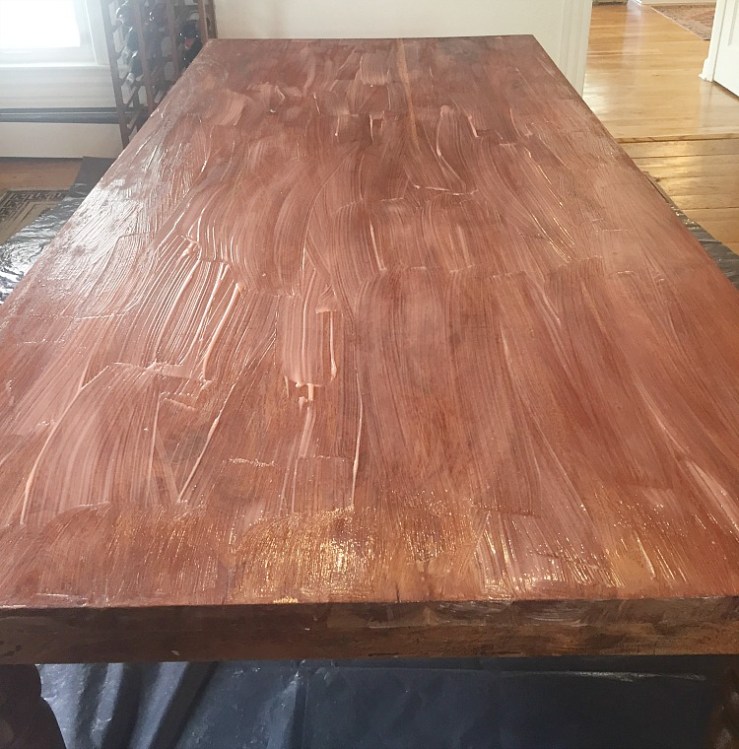
After about an hour, it looked like this..
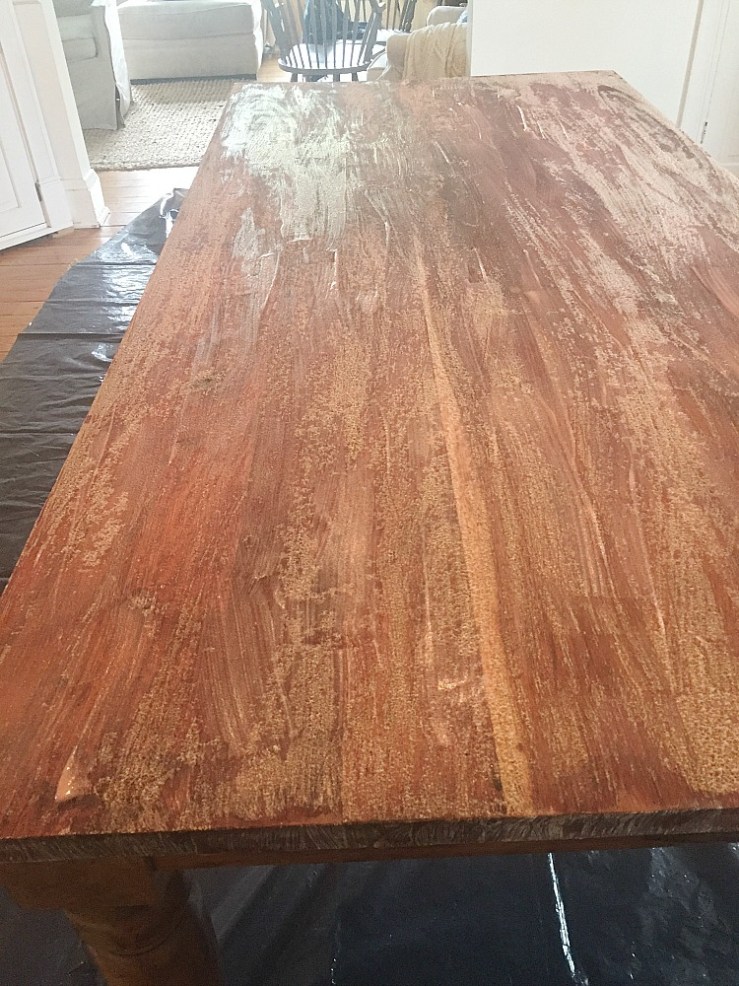
so I scraped it off using a plastic stripping tool (aka putty knife because that’s all I had) and cleaned the residue off with odorless mineral spirits (per Citristrip instructions) and the table looked like this..

Still red. Ugh! At least all of the poly finish was gone but the table still looked really red to me. According to the directions, the stripper could be applied multiple times, so that’s just what I did. And did. And did again. Yep — 3 more times, and no discernible difference. I didn’t even bother to document those attempts because I was feeling like an epic failure and I began to face the real concern that I had just ruined my dining room table.
As hard as it was for me to do so, I just stopped. I had to. I was afraid that I would do more harm than good if I didn’t consult someone smarter than me so I emailed our contractor who has done several projects for us and asked his advice. In the meantime, I curled up with my laptop and looked for answers online.
The more I read, the more I realized that I was probably working with a wood that was red naturally, not just a red stain. The only way to alter the hue considerably would be to BLEACH it. Say what? Bleach wood? First stripping, then bleaching???
Our contractor confirmed my deduction — the only way to change the color of the wood would be to bleach and he recommended I use an AB bleach. He also gave me a name of a woodworker who might be able to refinish the table for me but
#1. I wasn’t giving up.
But more importantly,
#2. That would be expensive!!!
I might already have to buy a new table so what more did I have to lose than try to do it myself?
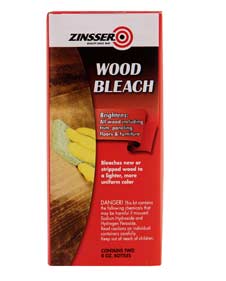
I couldn’t buy AB bleach any where locally — not any hardware store, big box home improvement store, or even Sherwin-Williams so I ordered it on Amazon (not even Prime!), and waited.
This is what I ordered..
The wait was probably the best thing that happened in this whole process because I did what I should have first done that Saturday morning that I whipped out my sander — I researched. And read. And studied. And came up with a plan.
AB bleach is no joke. I needed gear like protective eye wear, chemical-resistant gloves, and a plan for applying the 2 different solutions. According to the package, the solutions should be applied separately in order to be effective and I needed 2 different brushes for application. Plus, the warnings were scary. Yikes! But as I waited for the AB bleach to arrive, and read some more, I felt like I could do it. After all, household bleach has some pretty serious warning labels and I use that all the time.
In the meantime, our family room looked like this..

We had stadium seating and the morning crew (aka the boys who walk to school with my son) didn’t seem to mind one bit.

How’s that for a look?? Sorry I didn’t warn you 1st! Who said DIY-ing was pretty? Well, maybe Nicole Curtis from Rehab Addict. She always look good!
Anyway, I applied the bleach and I waited overnight per package instructions. The next morning seemed like Christmas or at least that’s what I said to my husband as I leapt out of bed to check on my table.
There was definitely a notable difference.

But when I wiped the table down with vinegar to neutralize the acidity of the chemicals, I realized that maybe I could get it even lighter. I knew that once I added stain, even a very light stain and protective finish, there was a strong chance the wood would become darker and that it might not be what I was hoping for.
Here’s my inspo again, in case you forgot in the 1000 words you’ve read since then (I’m almost done, I promise!)
So I bleached it again. Yep. I’m crazy like that. I applied another coat of the AB bleach and vowed that whatever the outcome, I would make it work.
The next morning was Mother’s Day and after another vinegar wash, and sanding using 220 grit sand paper, my table looked like this — what a gift to me!

The 2nd coat worked!!!!!!!!!!!!!!!
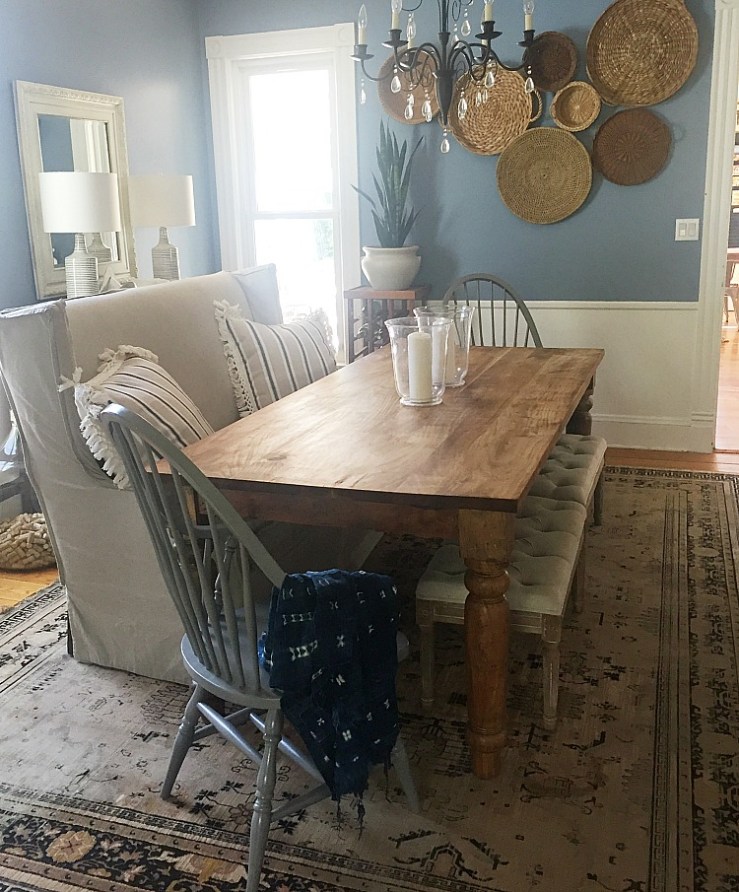
I picked the LIGHTEST, least red stain I could find, applied it, and sealed later with a wax (strangely Ikea’s Behandla — I love that stuff) and my table looked like this..
Here’s a side by side of my inspo and my table..


Pretty close, right?
I am so happy with the finished product. It is definitely not perfect, but it is perfectly imperfect for me and that’s all that matters.
I learned so much throughout this whole process, especially about what not to do. But I also know that if I hadn’t tried, I would still have that table with the reddish top.
Here’s another look…
Thanks for sticking with me — this was a looong read! If you have any questions about what I did, please ask away!
What projects do you plan on tackling this summer? If you need help hiding the evidence let me know.
love, Angie

I have a burn mark in the top of my fining room table and need to redo it. I bet I’ll learn how to strip…and sand this summer too. mines already so light, I might put a gray stain on it. what do you think?
LikeLike
I bet we could fix that by sanding the top of your table. I would love to help you. Let’s do it soon! And, I have a grey stain already that we can try if you’d like. It’s called something like weathered wood. Very un-red! 😂😂
LikeLike